Repurposed Puzzle Pieces: Crafting Fall Mosaics from Board Game Breakdowns
Introduction: Giving New Life to Old Puzzles
Do you have a box of puzzles missing a few crucial pieces? Or perhaps your kids have outgrown their character-themed jigsaws? Instead of tossing them, why not embark on a creative journey and transform those discarded pieces into beautiful fall mosaics? This project is not only a fantastic way to recycle but also a fun and engaging activity for all ages. We'll explore the steps to create stunning autumn-inspired artwork using repurposed puzzle pieces. Get ready to unleash your inner artist and bring the warmth of fall into your home with this unique craft!
This project is perfect for:
- Families looking for a fun, eco-friendly craft project.
- Teachers seeking engaging art activities for the classroom.
- Anyone who enjoys upcycling and creating unique home decor.

Gathering Your Materials: What You'll Need
Before diving into the crafting process, it's essential to gather all the necessary materials. Here's a comprehensive list of what you'll need to create your fall mosaics:
- Old Puzzles: The star of the show! Any jigsaw puzzle will do, but puzzles with varied shapes and sizes can add more visual interest.
- Acrylic Paints: Choose a palette of fall colors like warm reds, oranges, yellows, browns, and greens. Consider adding metallic shades for extra shimmer.
- Paintbrushes: A variety of brush sizes will allow for both broad strokes and intricate detailing.
- Craft Glue: A strong, non-toxic craft glue is essential for adhering the puzzle pieces to your base. Mod Podge is a popular choice for sealing your finished mosaic.
- Base Material: Options include wooden boards, canvas panels, cardboard, or even repurposed picture frames. Choose a size and shape that suits your desired mosaic design.
- Pencil and Eraser: For sketching your design onto the base material.
- Optional Embellishments: Consider adding natural elements like dried leaves, twigs, acorns, or small pinecones to enhance the fall theme. Glitter, beads, and sequins can also add sparkle and texture.
- Protective Covering: Newspaper or a plastic tablecloth to protect your work surface.
Make sure you have all these supplies ready before you begin. This will help streamline the crafting process and allow you to focus on creating your masterpiece!

Preparing the Puzzle Pieces: Painting and Sorting
The next step is to prepare your puzzle pieces for their mosaic transformation. This involves painting them in your chosen fall colors and sorting them for easy access during the assembly process.
- Painting: Spread out your puzzle pieces on a protected surface. Using your acrylic paints and brushes, begin painting the pieces in various fall hues. Experiment with different techniques, such as blending colors, creating gradients, or adding textured strokes. Don't be afraid to get creative! Consider painting some pieces solid colors and others with more intricate designs.
- Drying Time: Allow the painted puzzle pieces to dry completely. This may take several hours, depending on the thickness of the paint.
- Sorting: Once the pieces are dry, sort them by color and size. This will make it easier to find the perfect piece when you're assembling your mosaic. You can use small containers, bowls, or even egg cartons to keep the pieces organized.
Tip: If you want to create a more rustic look, consider lightly sanding the edges of the painted puzzle pieces after they've dried. This will give them a slightly worn and weathered appearance.
| Color | Description | Tips |
|---|---|---|
| Red | Bright, vibrant red for autumn leaves. | Mix with a touch of brown to deepen the shade. |
| Orange | Classic fall color, representing pumpkins and gourds. | Use different shades of orange for variety. |
| Yellow | Golden yellow for sunlight and harvest themes. | Add a hint of brown for a more muted tone. |
| Brown | Earthy brown for tree trunks and soil. | Use different shades of brown for depth. |
| Green | Olive green for foliage and natural elements. | Mix with yellow for a brighter green. |

Designing Your Mosaic: Sketching and Planning
Now that your puzzle pieces are prepped and ready, it's time to design your mosaic! This step involves sketching your desired image onto your base material and planning the placement of your puzzle pieces.
- Sketching: Using a pencil, lightly sketch your fall-themed design onto your chosen base. Consider classic autumn motifs like leaves, pumpkins, sunflowers, or harvest scenes. You can find inspiration online or create your own unique design. Don't worry about perfection – the puzzle pieces will add texture and dimension to your image.
- Planning: Before you start gluing, take some time to plan the placement of your puzzle pieces. Consider the colors, shapes, and sizes of the pieces and how they will contribute to the overall design. Experiment with different arrangements until you find a composition that you like.
Tip: If you're not confident in your drawing skills, you can use stencils or transfer a printed image onto your base material. Simply trace the outline of the image with a pencil before removing the stencil or paper.

Assembling the Mosaic: Gluing and Embellishing
With your design sketched and your puzzle pieces sorted, it's time to bring your mosaic to life! This involves carefully gluing the pieces onto your base material and adding any desired embellishments.
- Gluing: Apply a small amount of craft glue to the back of each puzzle piece and carefully place it onto your base material, following your sketched design. Press the piece firmly into place and hold for a few seconds to ensure it adheres properly. Work in small sections, allowing the glue to dry slightly before moving on to the next area.
- Filling Gaps: As you glue the puzzle pieces, you may notice small gaps between them. You can fill these gaps with smaller puzzle pieces, beads, sequins, or even grout, depending on the desired look.
- Embellishing: Once all the puzzle pieces are glued in place, you can add any desired embellishments. Attach dried leaves, twigs, acorns, or pinecones with craft glue to enhance the fall theme. Glitter, beads, and sequins can add sparkle and texture.
- Sealing: Once the glue is completely dry, consider sealing your mosaic with a coat of Mod Podge or a similar sealant. This will protect the puzzle pieces and embellishments and give your mosaic a polished finish.
Tip: If you're working with young children, supervise them closely during the gluing process. Use non-toxic craft glue and ensure proper ventilation.

Displaying Your Masterpiece: Showcasing Your Fall Creation
Congratulations! You've successfully transformed discarded puzzle pieces into a stunning fall mosaic. Now it's time to display your creation and share your artistic talent with the world.
Here are some ideas for showcasing your fall mosaic:
- Hang it on a wall: Attach a picture hanger to the back of your mosaic and display it on a wall in your home.
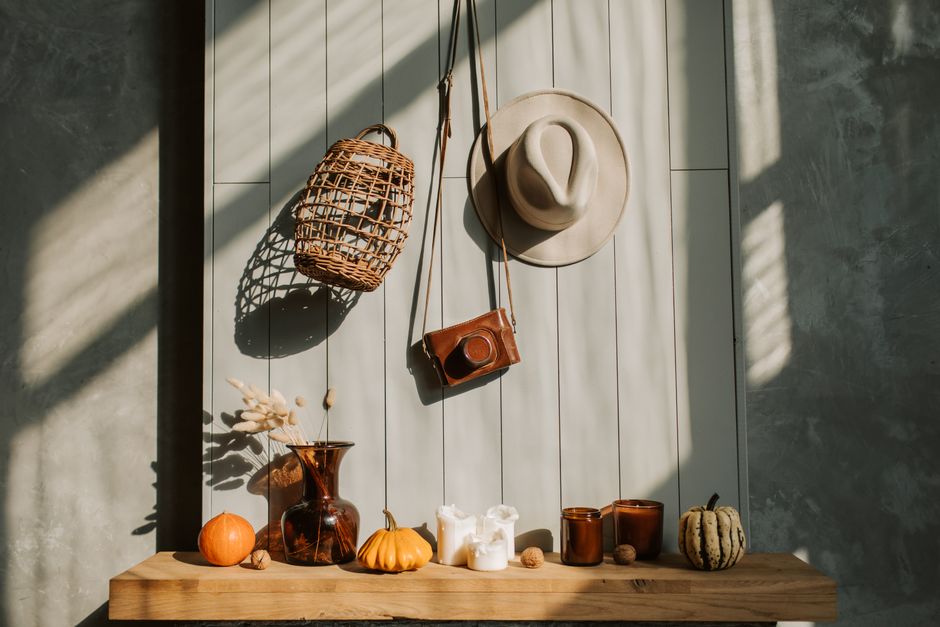
- Place it on a shelf or mantel: Lean your mosaic against a wall or place it on a shelf or mantel as part of your fall decor.
- Give it as a gift: Share your creation with friends and family as a thoughtful and unique handmade gift.
- Use it as a centerpiece: Place your mosaic on a table as a centerpiece for your fall gatherings.
No matter how you choose to display your mosaic, be sure to take pride in your accomplishment. You've not only created a beautiful piece of art but also given new life to old materials. Enjoy the warmth and beauty of fall with your repurposed puzzle piece creation!
So, gather your broken puzzles and let your creativity bloom this autumn!
-YourDad


Comments
Post a Comment