Temu's $2 Dish Sponge: From Sink to Sound Booth - Budget Studio Hack!
Temu's Unlikely Hero: The $2 Dish Sponge Revolutionizes Home Recording
In the ever-evolving world of home recording, musicians and voice-over artists are constantly searching for affordable ways to improve their sound quality. Acoustic treatment, the process of controlling sound reflections within a room, is crucial for achieving professional-sounding recordings. However, traditional acoustic panels can be expensive, putting them out of reach for many budget-conscious creators. Enter the unlikely hero: the humble dish sponge, specifically, those incredibly cheap ones you can find on Temu. Yes, you read that right. A simple dish sponge, costing around $2 (or even less!), can be a game-changer for your home studio. This isn't just about saving money; it's about unlocking creative solutions and proving that great sound doesn't have to break the bank.
This blog post will explore how these inexpensive sponges can be transformed into effective acoustic treatment, offering a practical and surprisingly effective solution for taming unwanted reflections and improving the overall clarity of your recordings. We'll delve into the science behind why they work, provide step-by-step instructions for creating your own DIY acoustic panels, and offer tips for optimizing their placement in your recording space. Get ready to ditch the expensive acoustic solutions and embrace the power of the $2 dish sponge!

Why Dish Sponges? The Science Behind the Sound
You might be thinking, "Dish sponges? Seriously?" But beneath their unassuming exterior lies a surprisingly effective acoustic absorption material. The key is their open-cell structure. Sound waves, when they encounter a surface, can be reflected, absorbed, or transmitted. Materials with open cells, like dish sponges, allow sound waves to penetrate their surface. As the sound waves travel through the intricate network of cells, friction converts some of the sound energy into heat, effectively reducing the intensity of the reflected sound. This process is known as sound absorption.
While dish sponges aren't going to perform miracles and replace high-end acoustic panels entirely, they can significantly reduce unwanted echoes and reverberation, particularly in the mid and high-frequency ranges. These are the frequencies that often contribute to a boxy or muddy sound in untreated rooms. By strategically placing dish sponge panels, you can create a more controlled and balanced acoustic environment, leading to clearer and more professional-sounding recordings. The density and type of foam used in the sponge will affect its absorption properties, so experimenting with different types can yield interesting results. Closed-cell foams, commonly used for insulation, reflect more sound and are not suitable for this application.
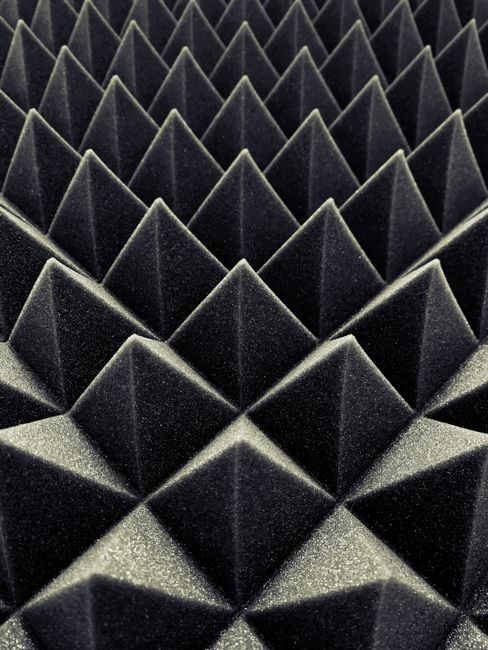
DIY Dish Sponge Acoustic Panels: A Step-by-Step Guide
Ready to transform your Temu dish sponges into acoustic panels? Here's a simple step-by-step guide to get you started:
- Gather Your Materials: You'll need a collection of dish sponges (the more, the better), fabric (burlap, felt, or any acoustically transparent material), scissors or a rotary cutter, a staple gun, wood glue (optional), and wooden frames (you can build your own or purchase pre-made ones).
- Prepare the Sponges: If desired, you can cut the sponges into smaller, more manageable pieces. This can also create a more visually appealing texture for your panels.
- Assemble the Frames: Ensure your wooden frames are sturdy and the correct size for your desired panel dimensions. If building your own, use wood glue and screws for added strength.
- Attach the Fabric: Stretch the fabric tightly over the frame and secure it with a staple gun. Make sure the fabric is taut and wrinkle-free.
- Insert the Sponges: Arrange the sponges within the frame, behind the fabric. You can use wood glue to secure them in place, but this is optional. The pressure from the fabric will usually hold them in place.
- Finishing Touches: Trim any excess fabric and ensure the back of the panel is neat and tidy. You can add hanging hardware to the back of the frame for easy mounting.
Alternatively, for a quicker and even cheaper solution, you can glue the sponges directly to a piece of cardboard or foam board, then cover it with fabric. This method is less durable but can be a great option for temporary or experimental setups.

Placement is Key: Optimizing Your Dish Sponge Acoustic Treatment
Creating acoustic panels is only half the battle. Proper placement is crucial for maximizing their effectiveness. Here are some tips for optimizing the placement of your DIY dish sponge panels:
- Identify Reflection Points: The first step is to identify the primary reflection points in your room. These are the areas where sound waves bounce off the walls and ceiling, creating echoes and reverberation. A simple trick is to have someone talk or clap while you move around the room, listening for the points where the sound is most pronounced. You can also use a mirror; sit in your listening position and have someone move a mirror along the walls. Where you can see your speakers in the mirror, that's a reflection point.
- Treat First Reflection Points: These are the most important areas to treat. Place your dish sponge panels at these points to absorb the initial reflections and prevent them from reaching your ears.
- Corners are Crucial: Corners tend to amplify low-frequency sound waves. Consider placing thicker panels or bass traps (which can also be made with dish sponges, albeit requiring more sponges and a larger frame) in the corners of your room to control these frequencies.
- Experiment and Listen: There's no one-size-fits-all solution for acoustic treatment. Experiment with different panel placements and listen carefully to the changes in sound. Use your ears as your guide and adjust the placement until you achieve the desired result.
Remember, the goal is to create a balanced acoustic environment, not a completely dead one. You want to reduce unwanted reflections without eliminating all natural reverberation. A little bit of natural reverb can add warmth and character to your recordings.

Beyond the Basics: Creative Applications and Advanced Techniques
Once you've mastered the basics of dish sponge acoustic treatment, you can explore more creative applications and advanced techniques. Here are a few ideas to get you started:
- Vocal Booth Alternative: Create a small, portable vocal booth by attaching dish sponge panels to a folding screen or a large cardboard box. This can be a great option for recording vocals in noisy environments.
- Microphone Isolation: Use dish sponge panels to create a small isolation shield around your microphone. This can help to reduce unwanted background noise and reflections.
- Diffusers: While dish sponges are primarily absorbers, you can create a simple diffuser by arranging them in a random pattern on a panel. This will scatter sound waves, creating a more spacious and natural sound.
- Bass Traps: Build larger, thicker panels filled with dish sponges to create effective bass traps. These can be placed in the corners of your room to control low-frequency sound waves.
Don't be afraid to experiment and get creative! The possibilities are endless when it comes to DIY acoustic treatment. The key is to understand the principles of sound absorption and diffusion, and to use your ears as your guide.

The Pros and Cons: Is Dish Sponge Acoustic Treatment Right for You?
Before you dive headfirst into the world of dish sponge acoustic treatment, it's important to weigh the pros and cons. Here's a quick overview:
| Pros | Cons |
|---|---|
| Extremely affordable | Less effective than professional acoustic panels |
| Easy to DIY | Can be time-consuming to create |
| Portable and lightweight | Aesthetics may not be for everyone |
| Environmentally friendly (if using recycled sponges) | May require a large quantity of sponges |
| Great for beginners and budget-conscious creators | Not ideal for professional studios or critical listening environments |
Dish sponge acoustic treatment is a fantastic option for those on a tight budget or who are just starting out in home recording. It's a fun and creative way to improve your sound quality without breaking the bank. However, if you're serious about achieving professional-level results, you may eventually want to invest in higher-quality acoustic panels. But even then, dish sponges can serve as a supplemental treatment option.
Level Up Your Sound: Embrace the $2 Sponge!
The world of home recording is constantly evolving, and innovative solutions are emerging all the time. The humble dish sponge, readily available and incredibly affordable, offers a surprisingly effective way to tackle acoustic challenges. By understanding the science behind sound absorption and following the DIY instructions outlined in this blog post, you can transform your recording space and elevate the quality of your audio productions. So, ditch the expensive acoustic panels, embrace the power of the $2 sponge, and unlock your creative potential!
Whether you're a musician, voice-over artist, podcaster, or simply someone who wants to improve the sound quality of their online meetings, dish sponge acoustic treatment is a valuable tool to have in your arsenal. It's a testament to the fact that great sound doesn't have to cost a fortune. With a little ingenuity and some elbow grease, you can create a professional-sounding recording environment without breaking the bank. Now go forth and create some sonic magic!
So go forth, get creative with those surprisingly versatile sponges, and let your sonic dreams take flight!
-YourDad


Comments
Post a Comment